Modifying a simulation manually
Basic principles
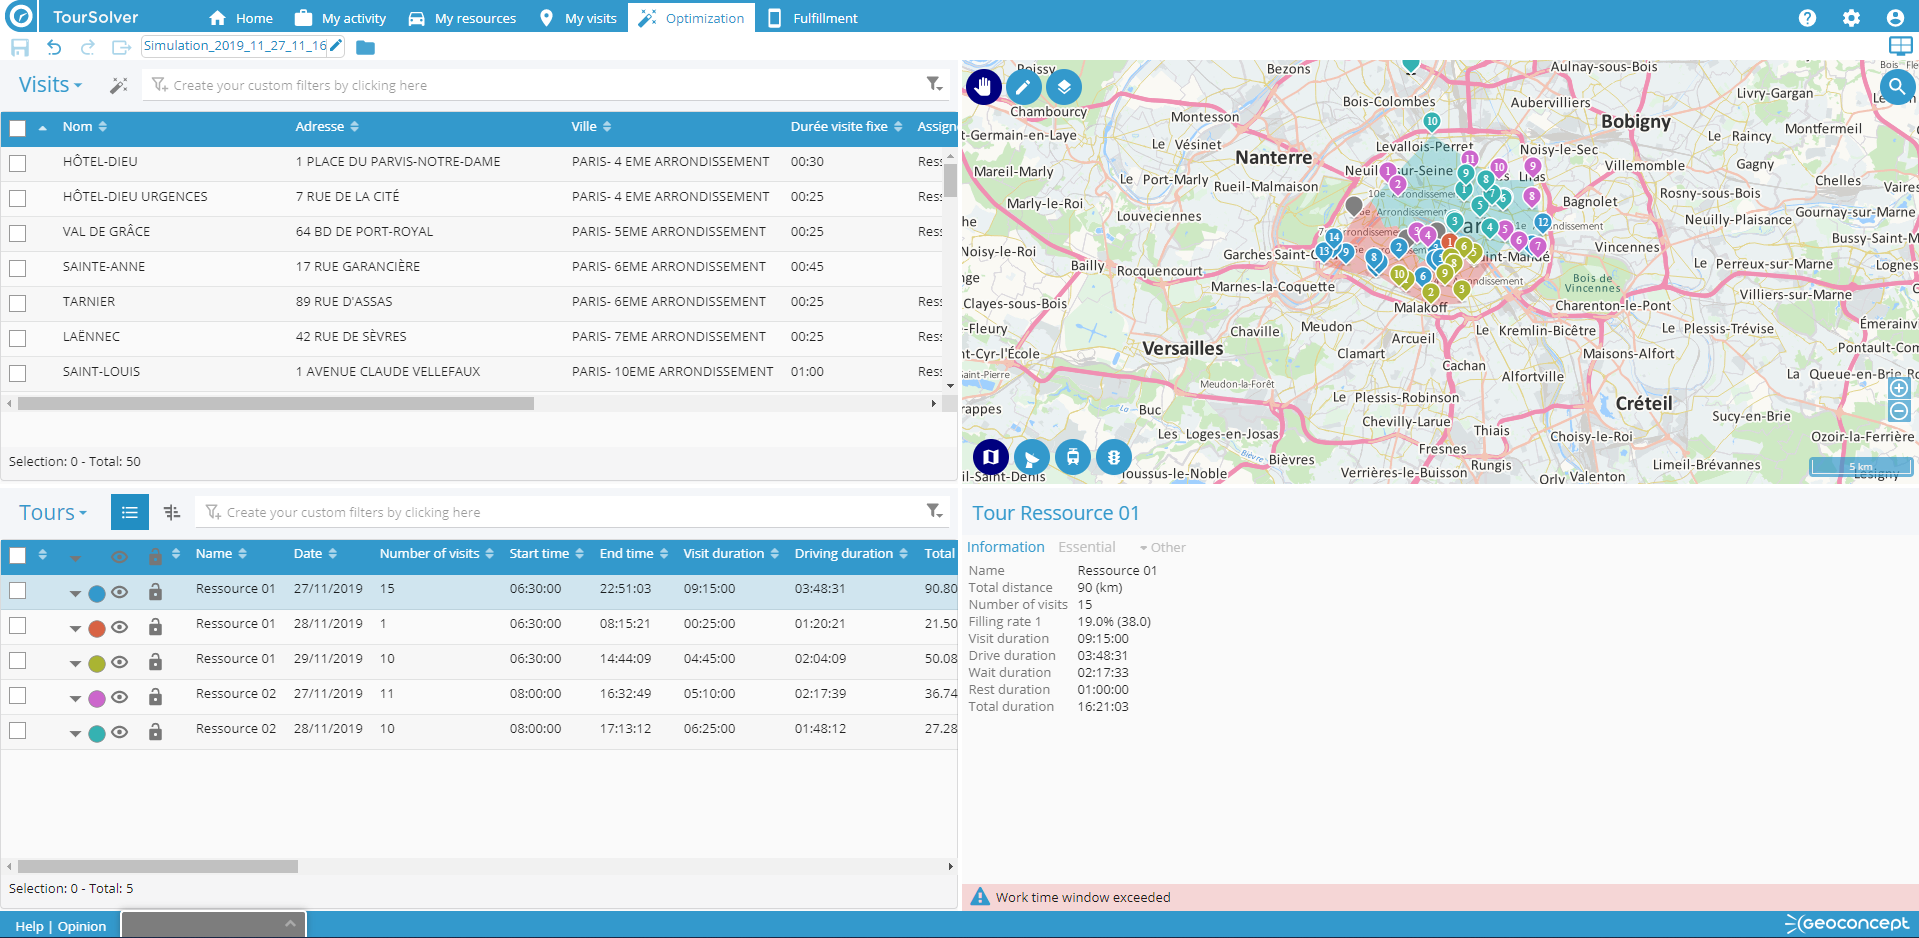
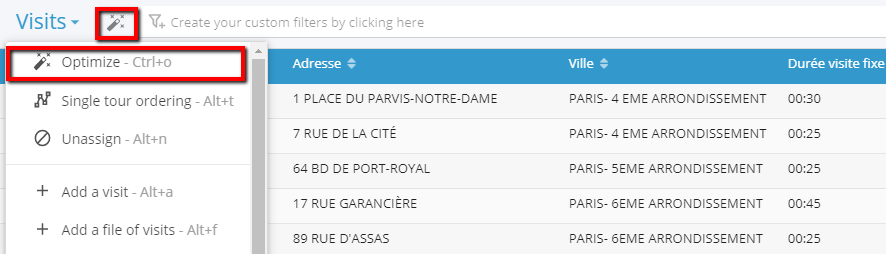
The optimization results page shows all routes for the period defined in the form of a list, a map and a planning or Gantt chart.
A series of manual editing actions can be applied to the simulation as follows:
- Move a visit into a route and check whether this infringes any constraints;
- Add a file of visits, or one visit to routes that already exist;
- Assign visits to a new route;
- Reassign a visit in another route and check whether this infringes any constraints;
- Unassign a visit. The visit will then be effectively an Unplanned visit;
- Delete a visit. The visit will be deleted definitively from the simulation;
- Reassign or unassign a route;
- Reverse the route direction;
- Delete a route;
- Save and reoptimize the modified simulation.
Utilisation
Moving a visit in a route
A visit can be moved in a route, by moving it either vertically in the list, or horizontally in the planning.
In the list
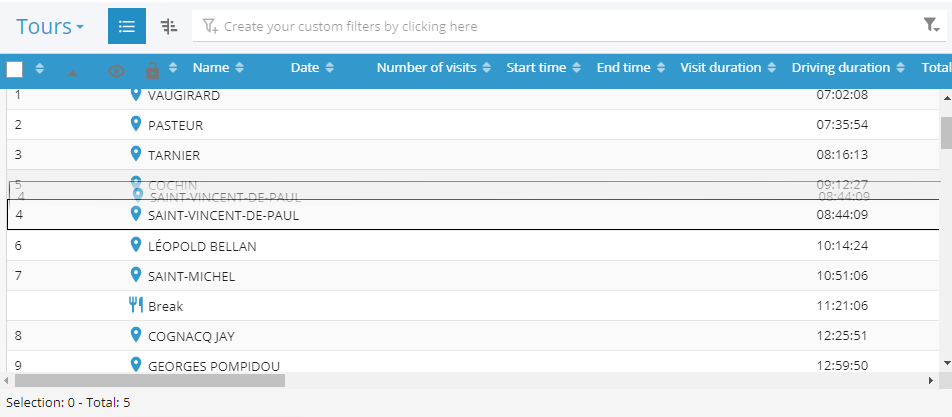
In the list of visits making up the route, drag-and-drop the visit with the mouse, or tap-and-drag it with a finger, towards the top or bottom of the list depending on whether you want the visit to take place earlier or later. When moving the visit, it will insert between two other visits or at the start/end of the route. An itinerary recalculation is applied to the whole of the route to check whether the later visits can still be fulfilled while respecting all constraints. If at least one constraint cannot be respected – volume and/or capacity – following such a reordering, an alert is displayed in red.
- in the planning for the affected route;
- in the list of route stops (stops on alert will become red, along with the name of the resource/day);
- in the information section at the bottom right of the screen with details of any violated constraint.
An example of an alert is shown at the top of this page.
In the planning
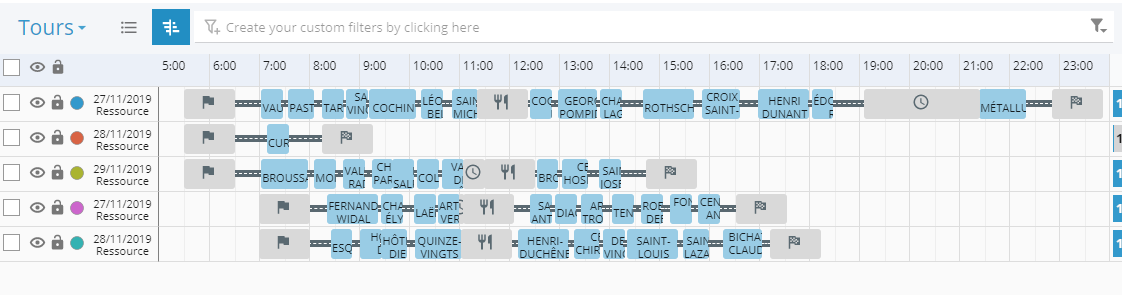
In the planning, click and drag sideways with the mouse, or tap-and-drag it with a finger to move it to the desired time. Depending on the time at which it is dropped, it will be inserted between two existing visits or at the start/end of a route. An itinerary recalculation is applied to the whole of the route to verify whether all constraints can be respected. If at least one time or volume/capacity constraint cannot be respected following a manual movement of a visit from the planning, an alert is displayed in red.
- in the planning of the affected route;
- in the list of route stops (stops on alert will become red, along with the name of the resource/day);
- in the information section at the bottom right of the screen, with details of the violated constraint.
An example of an alert is shown at the top of this page.
Adding a file of visits or one visit to an existing route
Add a file of visits to the Optimization page
Once your routes have been defined, it is still possible to add visits stored in an external file, via the following button:
Adding a file of visits means you have to perform the steps of import and geocoding as described above. The visits are integrated in the Optimization page but are not assigned to any route. You then have to re-optimize the routes for the visits to be integrated within the routes.
Adding a visit in the Optimization page
To handle last minute changes of plan, you can add a visit manually within existing routes using the following button:
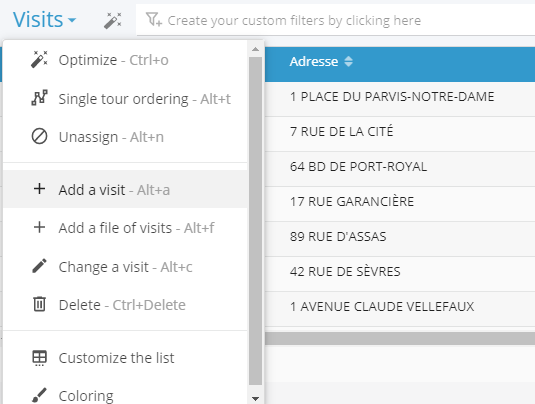
The addition is a manual one, and the user must enter as a minimum the name of the visit, the address, town and post code. To be added into the route, the visit must also be geolocated. A field used for the optimization (set visit duration) is also present but does not block the addition of the visit if it is not assigned any value.
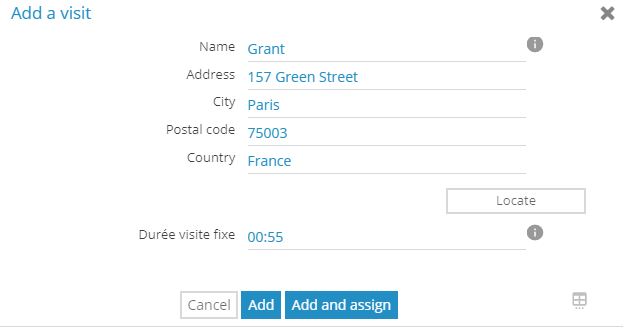
The visit is inserted in the Optimization page and can be assigned directly by clicking on Add and assign. You will need then to re-optimize the routes for the visits to be inserted in the routes.
Assigning visits to a new route
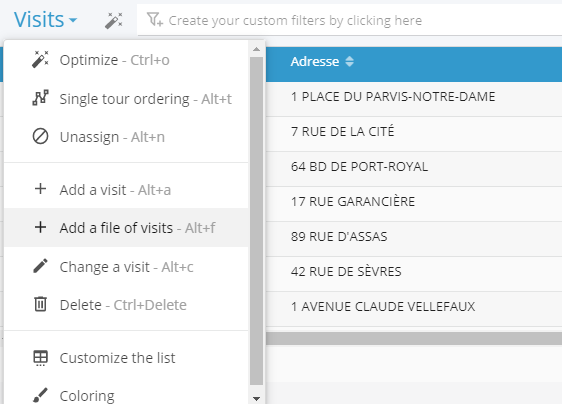
In the list of visits, the menu available via the Visits button is used to Reassign a selected visit to a route:
-
By selecting one or several visits and re-optimizing them;
The open optimization window then allows you to configure and run an optimization specific to the selected visits.
-
Selecting one or several visits (already assigned or not) and ordering a route.
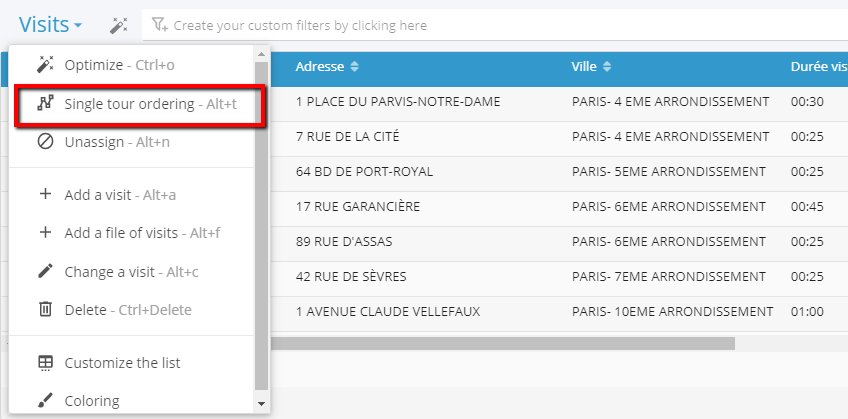
A new route appears in the list of routes. The assignment will depend on which visits have been assigned to it, and in which order.
Reassigning a visit in a route
In the planning
You can also reassign a visit to another existing route, by moving it vertically to another route in the planning, at the desired time. To do this, drag-and-drop vertically with the mouse, or drag with a finger, to reassign it to the desired time. Depending on the route and the time at which it is ‘dropped’, the visit will be inserted between two existing visits or at the start/end of the route. An itinerary recalculation is performed on the two routes affected (the original and destination routes), to verify whether the series of visits can be achieved while respecting defined constraints. In the event that at least one time or volume/capacity constraint is violated, following the manual reassignment of the visit from the planning, an alert is displayed in red:
- in the planning of the affected route;
- in the list of route stops (stops on alert will become red, along with the name of the resource/day);
- in the information section at the bottom right of the screen, with details of the violated constraint.
An example of an alert is given at the top of this page.
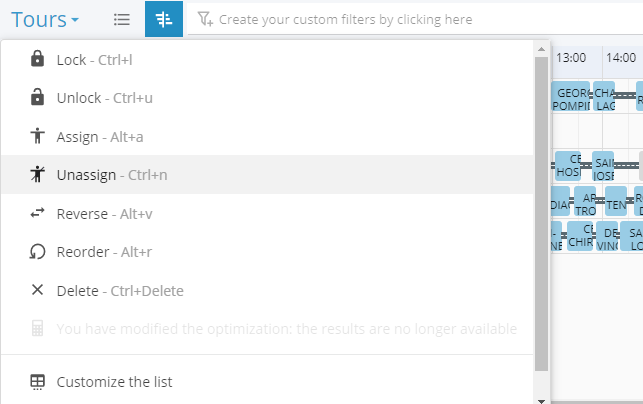
Unassigning a visit
In the list
In the list of visits, the Visits menu allows you to Unassign a visit that has been selected beforehand:
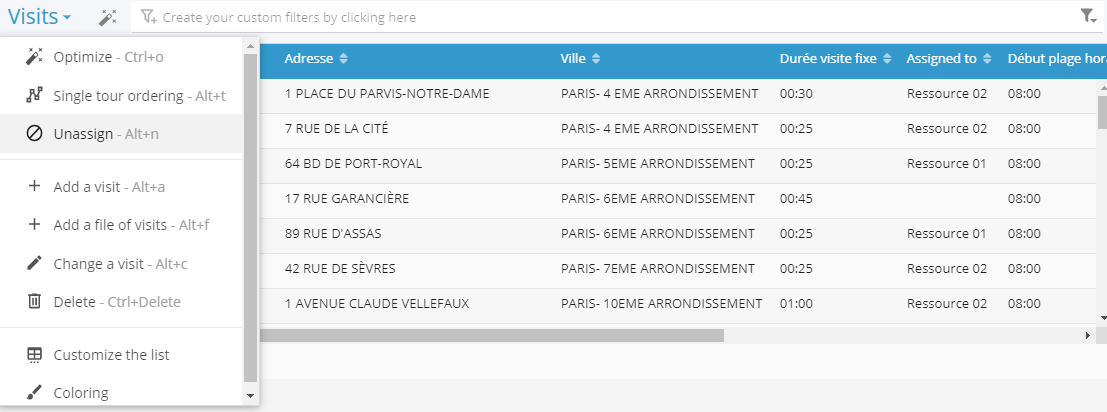
On the occasion of a future re-optimization, an unassigned visit can be reassigned automatically. (Cf. see above).
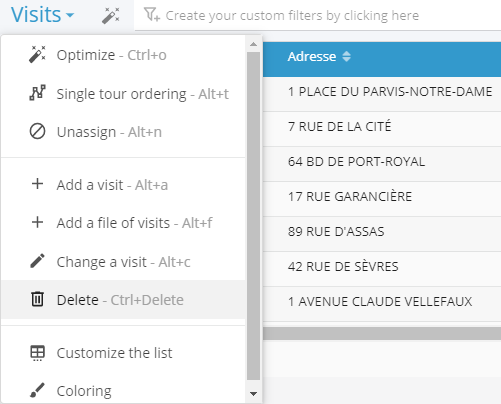
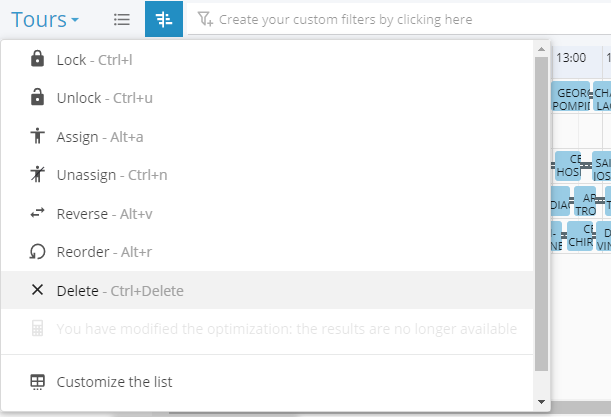
Deleting a visit
In the list
In the list of visits, the Visits menu allows you to Delete a visit that has been selected previously. It is then deleted definitively from the simulation in progress:
Assigning a route
In the list of routes, the menu accessed via the Routes button allows you to Reassign the selected routes to a resource:
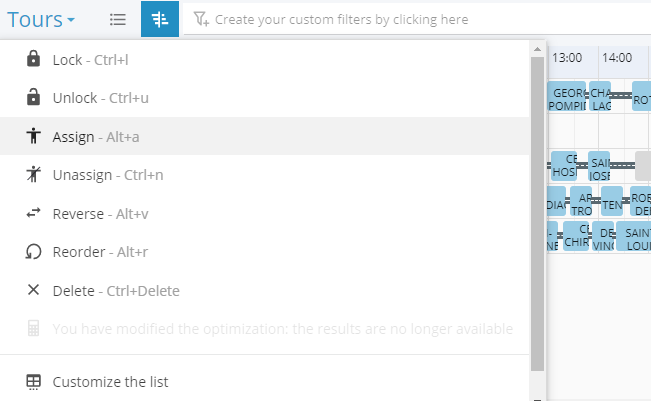
Unassigning a route
In the list of routes, the menu accessible via the Routes button allows you to Unassign the selected route(s):
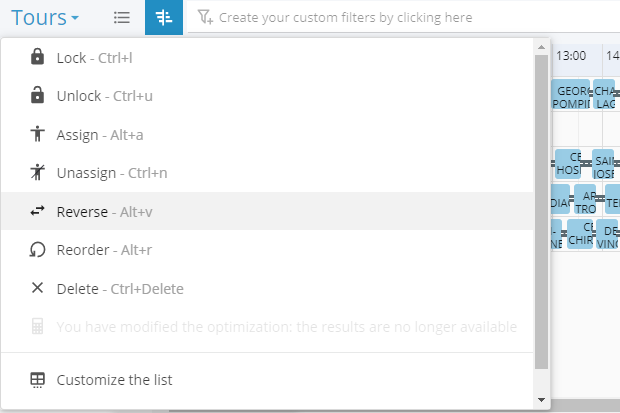
Reversing a route
Having first selected a route, use the Reverse option in the Routes menu to reverse the visit order within the route:
Deleting a route
In the list of routes, the menu available via the Routes button allows you to Delete the selected routes:
Saving or reoptimizing the modified simulation
Once all manual editing actions have been applied, you will need to save the modifications with the aim of re-optimizing all or some of the routes if necessary, or to export the routes.
Saving the modifications
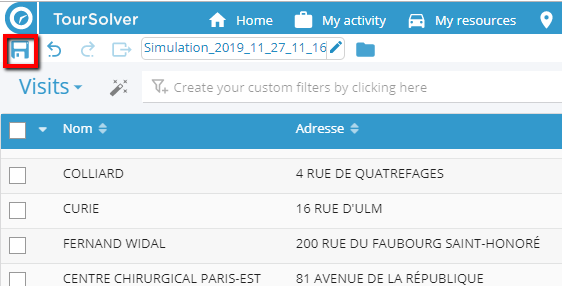
The dedicated icon in the toolbar at the top of the list of routes is used to save any modifications made.
 If you don’t save your manual modifications, it will not be possible to reoptimize the simulation, nor to export the routes.
Reoptimization: settings
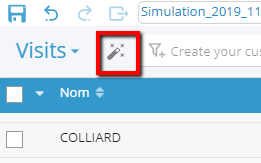
Once any manual modifications to the simulation have been saved, you can, if need be, re-optimize all or part of the routes. Having first selected the visits to optimize, click on the button to display the optimization configuration window.
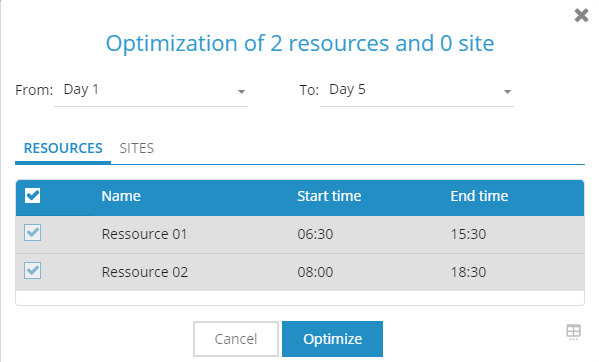
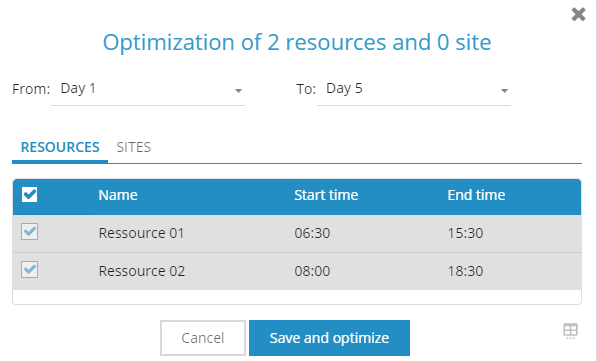
The optimization configuration window allows you to define the perimeter in time and the structure for the re-optimization. By default, TourSolver suggests re-optimizing the whole of the simulation perimeter (all days and all resources). You can, nonetheless:
- restrict the period to reoptimize by filtering the first and/or last day for the reoptimization using the drop-down lists provided;
- restrict the reoptimization to a selection of resources.
Once the perimeter has been defined, the Optimize button runs the reoptimization on all routes.
During the reoptimization, a stopwatch display tracks the optimization time, and the process will stop automatically once the maximum optimization time, as defined in the My activity page, has elapsed. At any time, you can manually halt the reoptimization with the button provided.
Once the reoptimization has terminated (automatically or manually) the results window displays once again, refreshed with the new simulation results.
Happy TourSolving!